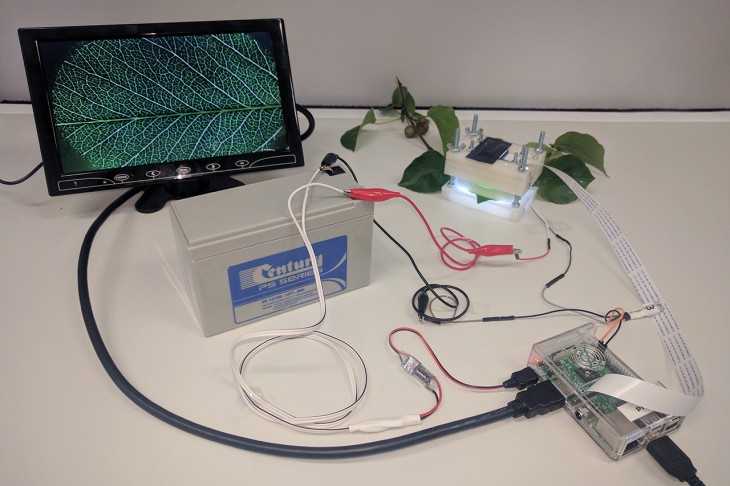
As part of an Australia-wide research project, we frequently take our optical setup to remote field stations where continuous power supply isn’t always guaranteed. To cope with the occasional power outage, we are now powering our RaspberryPis through a 12V battery block using an UBEC switching power converter. The battery itself is trickle-charged from a power outlet to keep it going under normal conditions. When the power goes out, our 7Ah battery sustains a single RPi + LEDs for just over 24 h at a 5 min imaging interval.
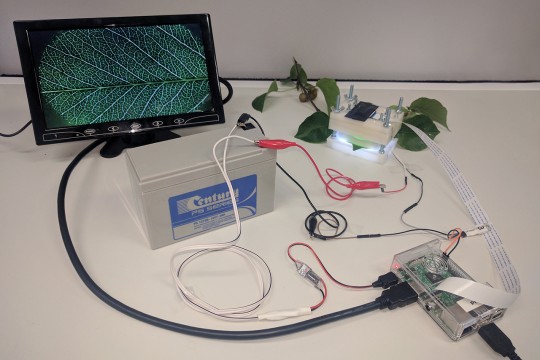
Required parts:
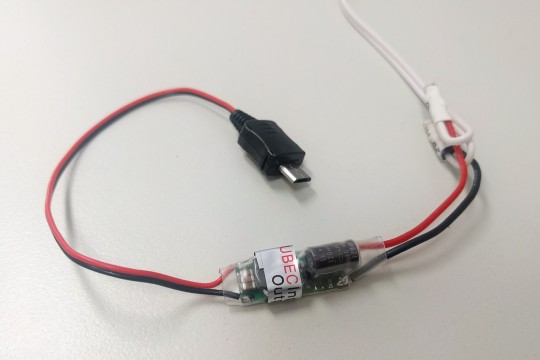
- UBEC DC/DC Step-Down (Buck) Converter – 5V @ 3A output (16.95 AUD)
available at Core Electronics and elsewhere. - USB DIY Connector Shell – Type Micro-B Plug (1.95 AUD)
available at Core Electronics and elsewhere. - Some 25 AWG hookup cable to connect the battery and UBEC
- A 12V battery charger with trickle-charge capability
Quick Instructions:
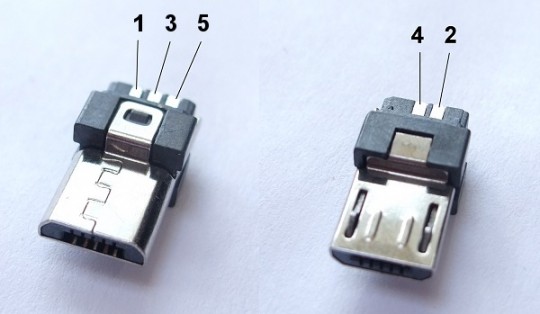
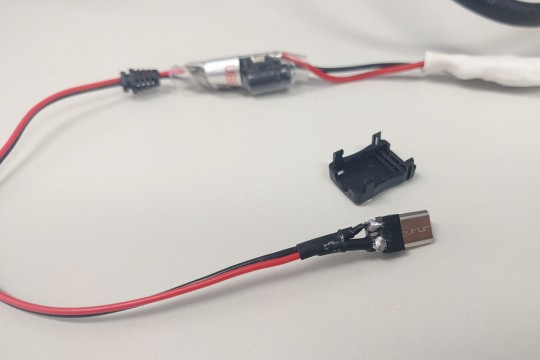
- On the micro-USB plug, connect the red wire from “UBEC Out” to pin 1 and the black wire from “UBEC Out” to pin 5.
- Connect the red (+) wire from “UBEC In” to the battery’s positive (+) connector, and the black (GND) wire to the battery’s negative (-) connector.
- If the LEDs in your setup use 12V, just connect the battery to the NPN transistor directly, analogue to the Switching Circuit instructions.
- Hook the battery up to a trickle charger, and you’re good to go.
